Clone a Website With HTML
Now that we've covered the basic syntax of HTML, let's try cloning a simple site with it.
We'll start by opening VSCode.
Create new file: index.html
Type ! and hit enter. This will provide a basic HTML layout.
<!DOCTYPE html> must be in the file to specify that it is an HTML document for browsers to read.
<html> wraps all the content on the page, it is good practice to include lang="value" to declare the language on the page.
<head>element is used to wrap meta data, title, seo etc. that the end user typically will not see.
<body> is where all the content will live, from the navigation to menus, header/footer/main content.
The Project#
We're going to model our site off of allrecipes.com/recipe/10549/best-brownies
Because I like brownies.
First easy step: change the <title> to Best Brownies.
Then we'll place our 3 main tags:
<header><main><footer>
Adding the Header#
Starting with the <header> tag we'll add:
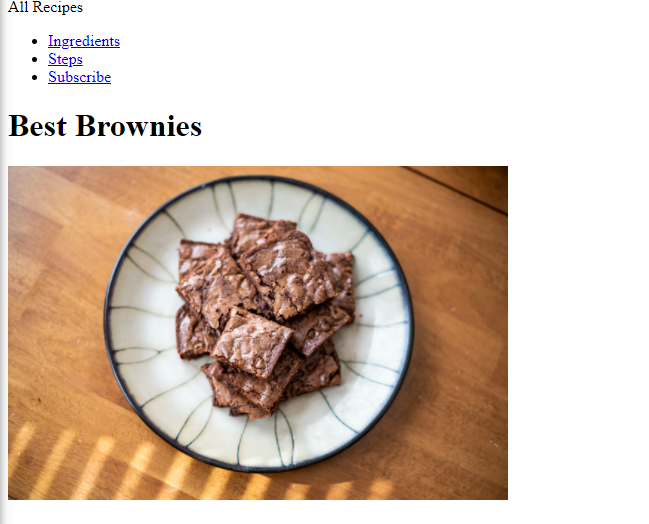
Here we've added a <div> for the header "All Recipes", as well as the navigation links using the ul (unordered-list) and li (list item) tags. Each list item has an a tag with the href (link) added for each relevant section. This will allow the user to click a link to scroll to that section of the page.
Save and open your document (pro-tip, install Live Server to automagically open your file in the browser and update anytime you make a change and save it), and it should look like this now:

Filling Out the Content#
Let's move on to the <main> section.
We've started with an h1 of Best Brownies for the title of this recipe and added an image of some beautiful brownies! For the image, we went to unsplash.com and looked up "brownies." Unsplash is a great resource for royalty-free images to use. Right click on a picture you like and copy the image address, then paste it in for the src. For this particular image, I found a width of 500 works nicely. Save the work and now we have:
It ain't much, but it's honest work.
Let's Add the Ingredients!#
Next we'll add our Ingredients list:
We start with an h2 tag for the title of the section. We add an id of ingredients for our navigation button to point to. After that we create an ol(ordered list) with li that include an input of type checkbox so the user can check off each ingredient as they go. Save the work, reload and now:
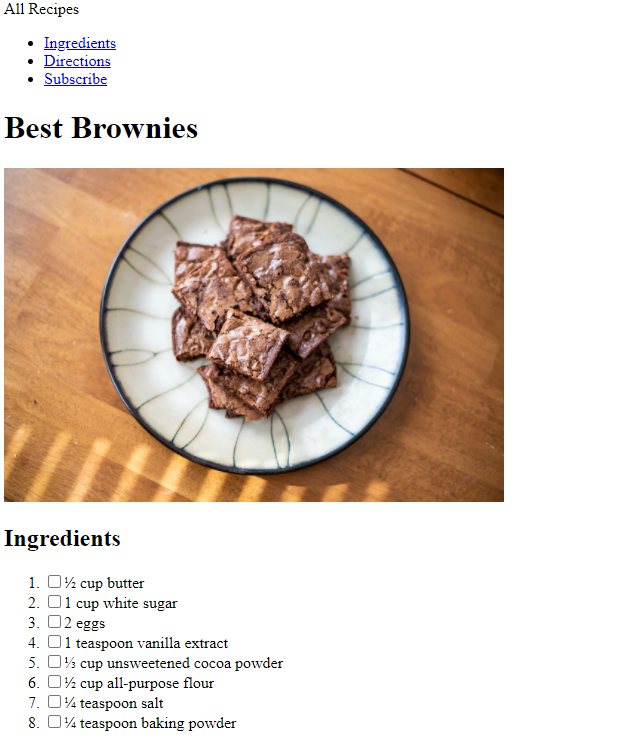
Our page is slowly coming along. It won't look like much now as it's plain HTML. When we get to CSS we can start to make it look pretty!
You'll notice I skipped the ingredients for frosting. Frosting is for cakes. We will not include that here.
Can't Do Anything Without Directions#
Moving on to the Directions portion of our page:
There are a few ways we could structure this portion, but for our purposes, this is clean and simple. We start with an h2 title of Directions following the id principals we used on the Ingredients section. Each step we give an h4 and also include a checkbox input. Under the h4 step we include a p tag with the instructions. Simple and organized. Save your work and reload:
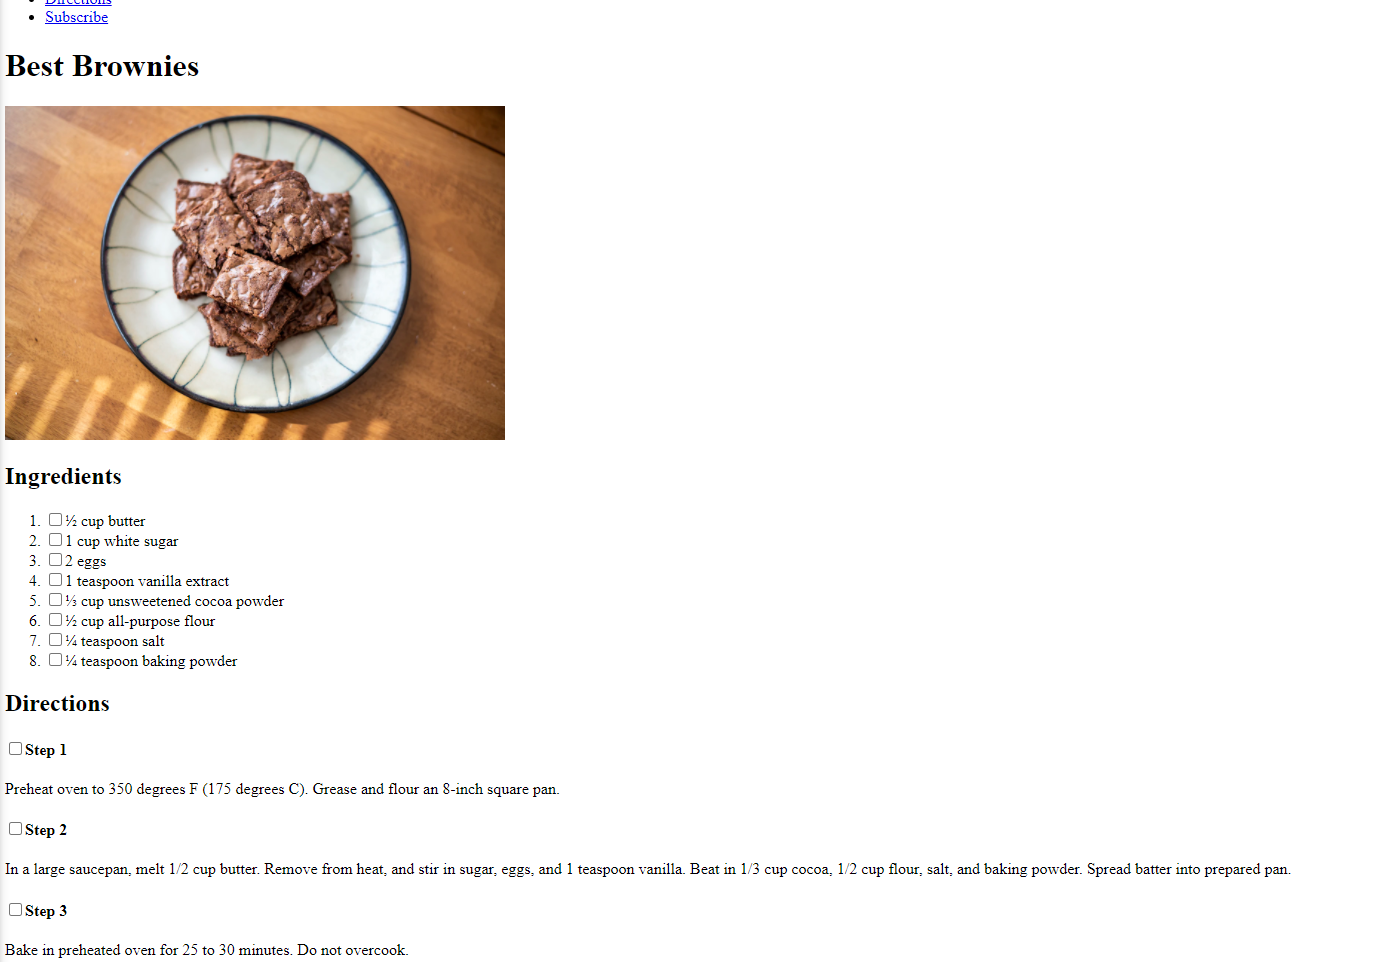
Now we can't even see the entire page! Progress!
Add Some Footer Info#
Finally, we move on to the <footer> section:
Right after the </main> tag we add an <hr /> tag in order to create a "Horizontal Rule" as they call it, which really just makes a neat line across the section to separate each section. Moving on to the <footer> section we create an <h6>tag with the same id rule we've used previously.
Following that we open up a <form> tag and add an onsubmit rule that will send an alert to the user saying "Subscribed" when they click the submit button. Essentially, the button does nothing at this point but create an alert. Inside our <form> tag we open up an <input> of type "text" with a placeholder to make it look fancy. Under the input we create our Submit button.
Outside of the form we create a little page break with <br> and open a <div> to add the copyright, giving credit to the original author of the article.
And We Are Done!#
Save our work and:
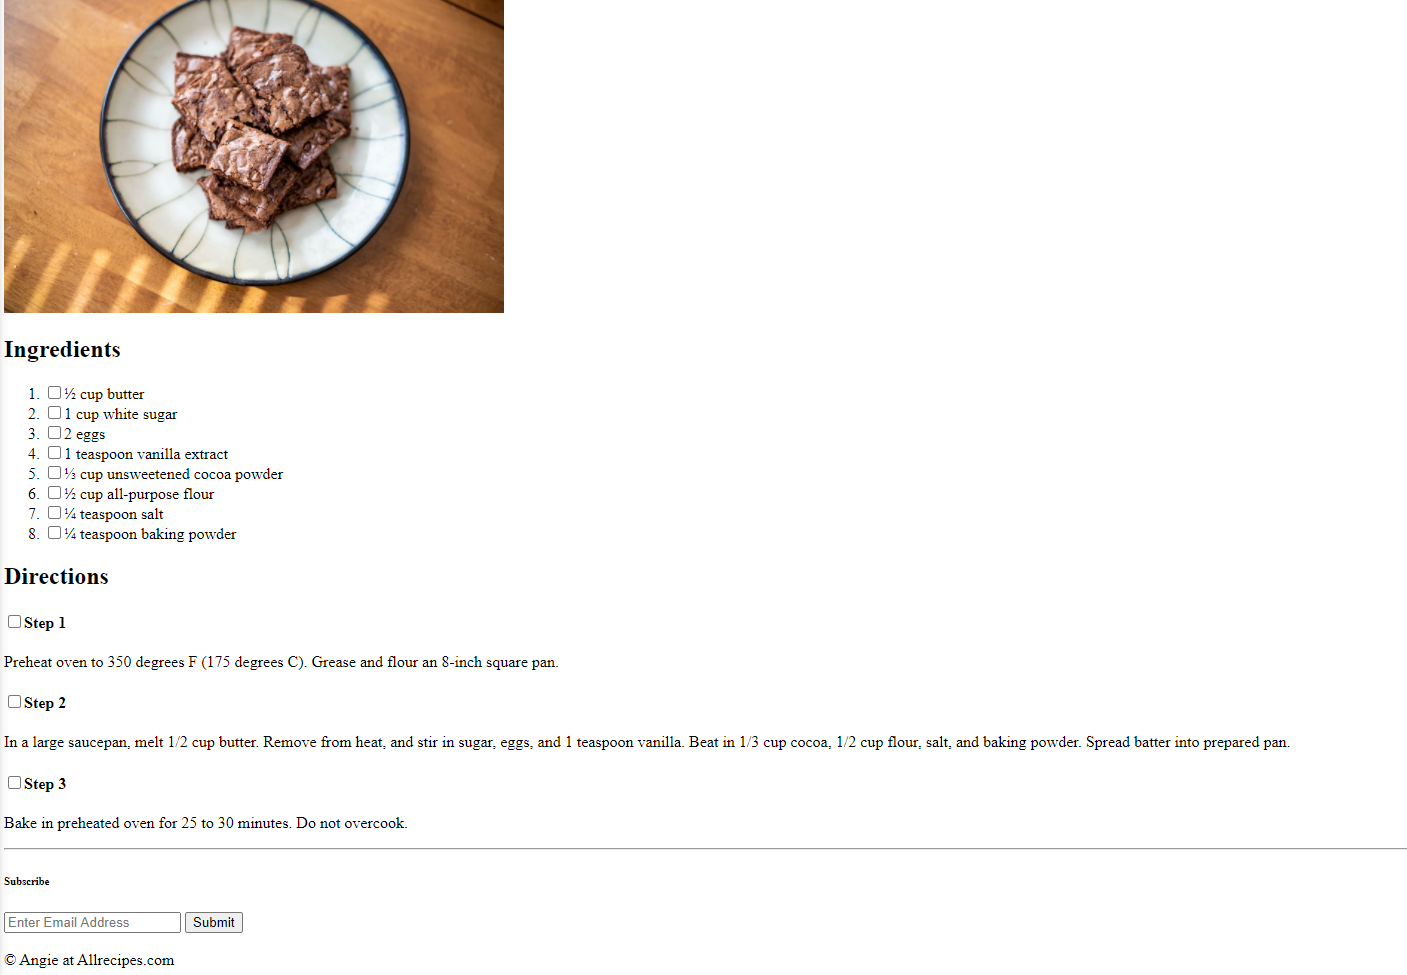
I'd say this looks pretty nice being made with JUST HTML! Congrats. You built your first web page.